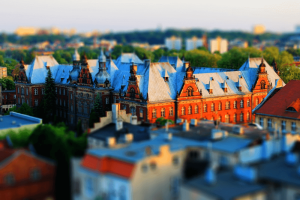
 We’ve all seen those photos of familiar structures looking like tiny toys. It’s a popular form of photography these days – thanks in large part to Instagram – but it’s been around for years now. Termed ‘tilt-shift’, the style has been around for as long as photography but it didn’t really become popular until the 60s. Called as such due to the mechanisms of a specific tilt-shift lens – which, in layman’s terms, essentially tilts the lens in such a way to create the effect – it’s more commonly used nowadays for creating fun miniature scenes of ordinarily large situations.
Nowadays, however, tilt-shift is more commonly done in postproduction, after the photo has been taken. It doesn’t produce quite as good results this way, but since it relies quite heavily on depth of field to create the shrunken scene it’s quite easy to replicate. Here’s how you can:
Pick the Right Photo
Sad as it is to say, unless you take a photo with a tilt-shift camera lens you simply won’t be able to force every picture you take into making everything tiny. It can only work under certain specific guidelines; post process tilt-shift is basically an illusion.
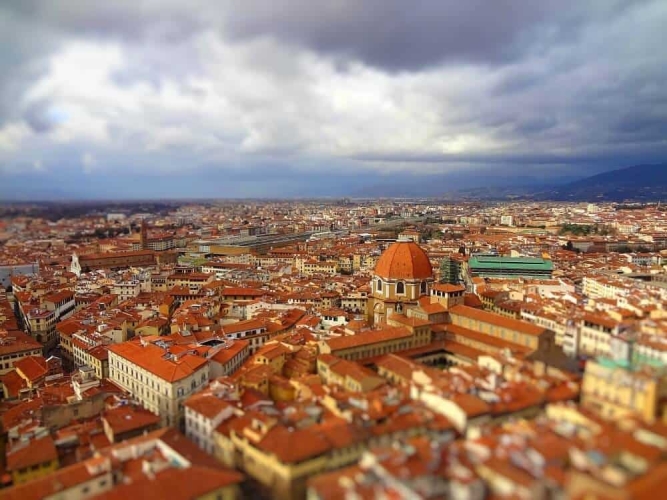
For the best results you want a wide view of a scene, ideally with a number of smaller parts working to create the whole picture. This is typically why tilt-shift pictures are of active villages, crowds of people, or bustling cities. Often it works best from a higher angle, too, since it helps create the perspective of a giant looking down on the world. In this sense it’s important to think about this particular visual style as you take the picture, before it ever makes it to any photo editing software.
Tilt-Shift With Apps and Online Editors
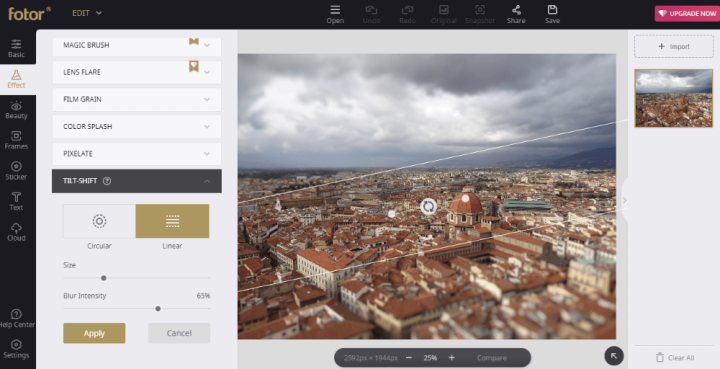
Let’s start easy. If you’ve encountered tilt-shift at all recently, the chances are it’ll be through an app like Instagram. Via this app – or most online editors – the function isn’t perfect and will never replace proper hardware, but it can be surprisingly effective. It’s typically all handled very quickly and easily on these programs, though our guidelines here are specific to Instagram or Fotor.
- Load the image you want to edit in your app or program.
- Find and activate the “Tilt Shift” option. On Instagram this is in the “Edit” menu, while online editing tools are can fit it anywhere. Fotor, for example, keeps this option in “Effects”.
- Traditional tilt-shift is linear, but experiment with this or the radial option for the best effect. On the image itself, drag it onto where you want the focus to be.
- From there you can adjust the size of the focus to create the perfect miniature look.
- Proceed to make edits to your photo as you normally would. Consider using a lot of saturation and increasing the brightness and contrast to help highlight the colorful, toy-like look of the picture.
Tilt-Shift With Professional Editing Suites
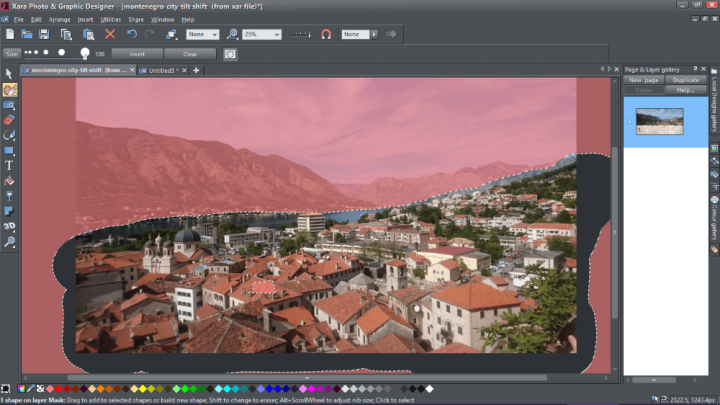
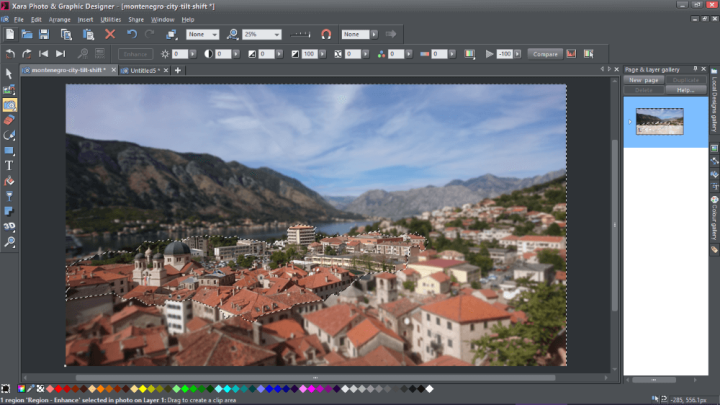
Creating this effect with more professional editing tools like Photoshop or Xara Photo & Graphic Designer requires a little more work. It all depends on how your favorite editing software utilizes layer masks, but the concept remains the same.
- Start by increasing saturation, brightness and contrast to enhance the image, to make it bright, colorful and toy-like.
- Create a layer mask as you would with the software, and then select the parts that you want to be out of focus. Note: if you’re applying blurring to multiple regions (i.e. top and bottom) then you will need to do this process for each of them individually.
- Blur the selection to make it look out of focus.
- Use a linear gradient and drag it across the image, blending the blurring effect from the newly blurred area to the section of the photo you want to remain in focus. This may take a few tries to get the perfect effect.
- Repeat this process for each of the sections you want to blur then, when happy, export the file.
Best Photo Editing Software of 2024
| Rank | Company | Info | Visit |
|
1
|
 |
|
|
|
2
|
 |
|
|
|
3
|
 |
|

Share Your Comment